How to install a rainscreen cladding system step by step
Rainscreen cladding is a system that has become one of the most efficient solution for construction envelope purposes. It provides numerous advantages in terms of thermal and acoustic insulation, avoiding thermal bridges and condensation problems.
The rainscreen cladding system consists of a load bearing wall, a layer of insulation and a covering material fixed to the building with the help of a supporting structure. This system creates a gap between the insulation and covering material called an air cavity.
Our CUPACLAD® rainscreen cladding systems offer a design adapted to every need, and are compatible with any type of insulating material.
HOW TO INSTALL A RAINSCREEN CLADDING SYSTEM?
Don’t miss these 2 videos with the installation steps of our rainscreen cladding systems in natural slate
-
Installation of a slate rainscreen cladding system with invisible fixings (CUPACLAD 101 Logic)
Our series of CUPACLAD® 101 natural slate rainscreen cladding features totally invisible fixing systems, enhancing the aesthetics of any wall or surface you apply it to.
-
Installation of a rainscreen cladding with visible fixing (CUPACLAD 201 Vanguard)
CUPACLAD® 201 combines stainless steel clips with natural slate texture to give a touch of modernity and reduce installation times compared to other rainscreen cladding systems.
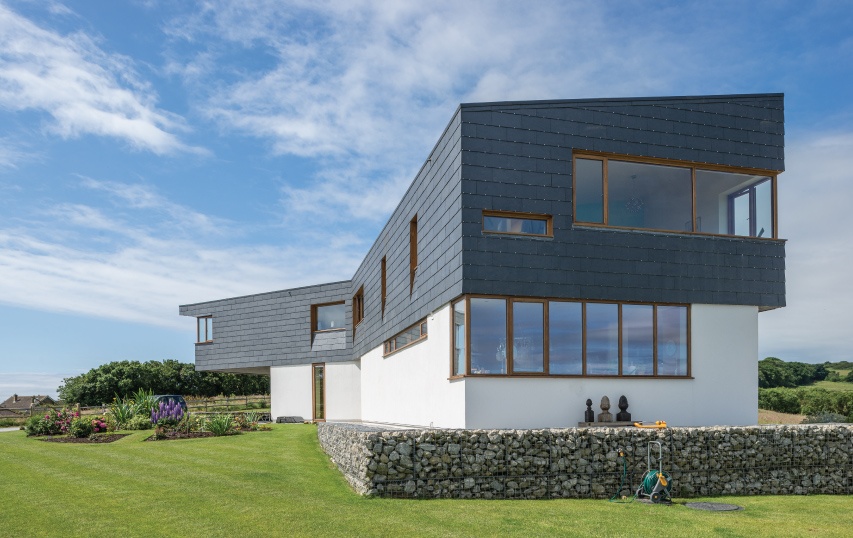
CUPACLAD® slate cladding systems offer a revolution in cladding applications for natural slate, opening up a world of options for designing with natural slate.
Moreover, slates are specially selected from among our 16 quarries for its technical properties and its fixings have been designed to facilitate and shorten installation times.
Need more info about these rainscreen cladding systems? Download our CUPACLAD brochure.
